
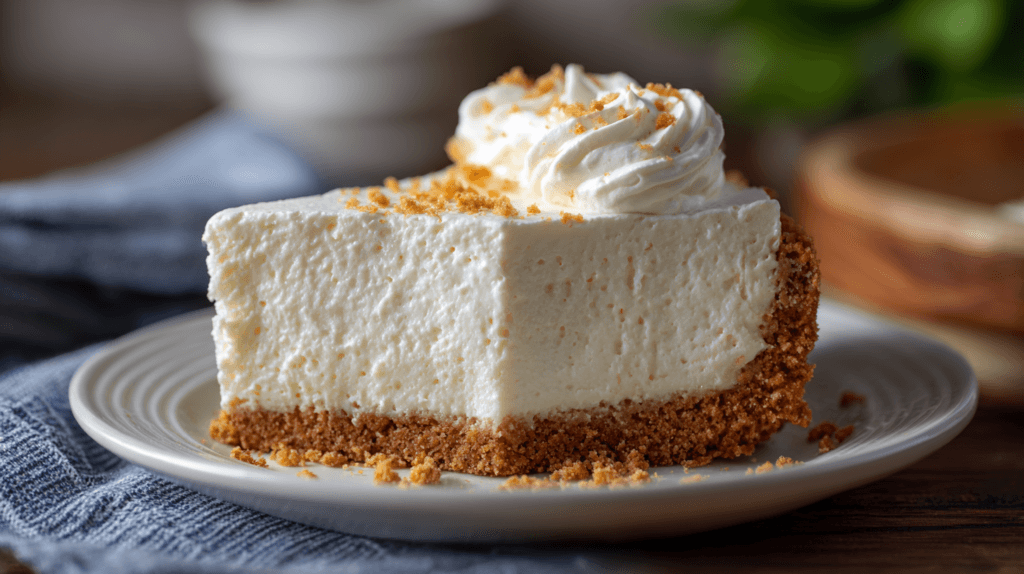
There’s something undeniably nostalgic about a Marshmallow Whip Cheesecake. It tastes like childhood sleepovers, holiday potlucks, and handwritten recipe cards passed down through generations. Light as a cloud yet decadently creamy, this no-bake cheesecake blends tangy cream cheese with fluffy marshmallow whip for a dessert that feels indulgent without being heavy.
Whether you’re planning a summer gathering, a festive holiday spread, or just craving an easy make-ahead dessert, this marshmallow whip cheesecake delivers big flavor with minimal effort. Best of all, no oven required.
Table of Contents
Marshmallow Whip Cheesecake Recipe
Prep Time: 20 minutes
Chill Time: 4 hours
Total Time: 4 hours 20 minutes
Servings: 10 slices
Calories: ~380 per slice
Ingredients
- 1 ½ cups graham cracker crumbs
- 6 tablespoons unsalted butter, melted
- 2 tablespoons granulated sugar
- 16 ounces full-fat cream cheese, softened
- 1 cup marshmallow whip (such as Marshmallow Fluff)
- ¾ cup powdered sugar
- 1 teaspoon pure vanilla extract
- 1 cup heavy whipping cream, cold
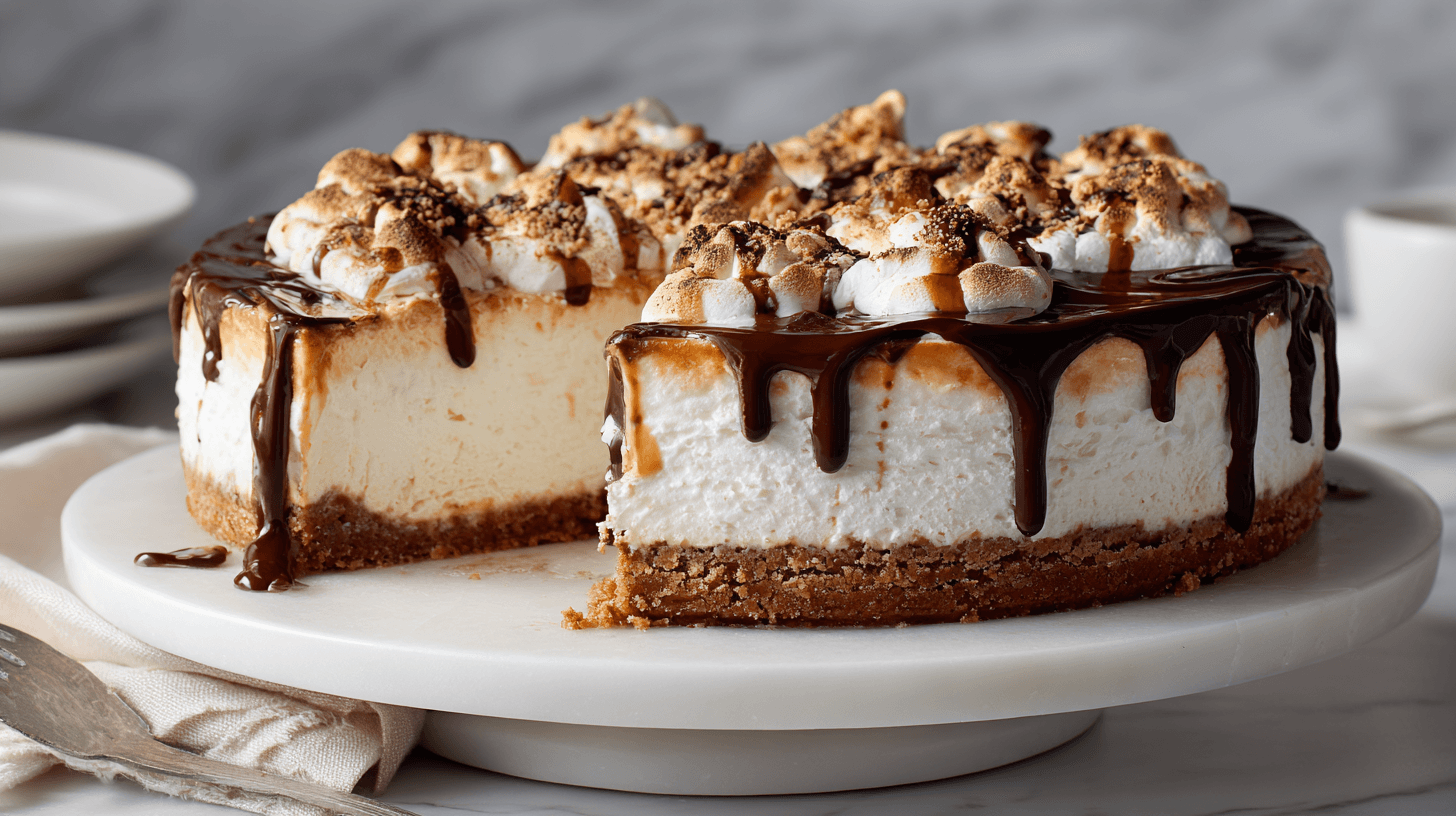
- Optional topping: mini marshmallows, chocolate drizzle, or fresh berries
Instructions
- In a medium bowl, combine graham cracker crumbs, melted butter, and granulated sugar. Mix until evenly moistened.
- Press the mixture firmly into the bottom of a 9-inch springform pan. Chill in the refrigerator while preparing the filling.
- In a large mixing bowl, beat softened cream cheese until smooth and lump-free.
- Add powdered sugar and vanilla extract. Beat again until fully incorporated.
- Gently fold in the marshmallow whip until the mixture is light and uniform.
- In a separate bowl, whip the heavy cream to stiff peaks.
- Carefully fold the whipped cream into the cheesecake mixture, working slowly to preserve the airy texture.
- Spoon the filling over the chilled crust and smooth the top.
- Cover and refrigerate for at least 4 hours, or until fully set.
- Garnish as desired, slice, and serve chilled.
Substitutions & Dietary Swaps
This marshmallow whip cheesecake is flexible and forgiving. For a lighter option, use reduced-fat cream cheese, though the texture will be slightly softer. Gluten-free graham crackers work perfectly for a gluten-free crust. For a chocolate variation, swap graham crackers for chocolate cookie crumbs.
Chef’s Pro Tips
- Ensure cream cheese is fully softened to avoid lumps.
- Fold gently overmixing will deflate the filling.
- Chill overnight for the cleanest slices.
- Use a hot knife for bakery-style presentation.
Make Ahead, Storage & Reheating
This marshmallow whip cheesecake is an ideal make-ahead dessert. Prepare it up to 24 hours in advance and keep refrigerated. Store leftovers covered in the fridge for up to 4 days. Freezing is possible, though the texture may soften slightly when thawed.
Troubleshooting & Common Mistakes
If your cheesecake doesn’t set, it likely needs more chill time or the whipped cream was under-whipped. A grainy texture usually means the cream cheese was too cold. Always allow ingredients to come to room temperature before mixing.
Flavor Pairings & Serving Suggestions
Serve marshmallow whip cheesecake with fresh strawberries, hot fudge sauce, or alongside Tomato Soup with Cheddar Bay Dumplings.
Marshmallow Whip Cheesecake
Ingredients
Equipment
Method
- In a medium bowl, mix graham cracker crumbs, melted butter, and granulated sugar until evenly moistened.
- Press the crust mixture firmly into the bottom of a 9-inch springform pan. Chill while you make the filling.
- Beat softened cream cheese in a large bowl until smooth and lump-free.
- Add powdered sugar and vanilla extract; beat again until creamy and well combined.
- Fold in the marshmallow whip until the mixture is light and uniform.
- In a separate bowl, whip the cold heavy cream to stiff peaks.
- Gently fold the whipped cream into the cheesecake mixture in two additions, keeping as much air in the batter as possible.
- Spoon the filling over the chilled crust and smooth the top.
- Cover and refrigerate for at least 4 hours (or overnight) until set. Add optional toppings, slice, and serve chilled.
Notes
Frequently Asked Questions
Is marshmallow whip cheesecake baked?
No, this is a completely no-bake cheesecake.
Can I use homemade marshmallow cream?
Yes, as long as it’s thick and stable.
How long does it need to chill?
At least 4 hours, preferably overnight.
Can I freeze marshmallow whip cheesecake?
Yes, freeze up to 1 month and thaw overnight in the fridge.
What pan works best?
A springform pan ensures easy release and clean slices.
Conclusion
This Marshmallow Whip Cheesecake is proof that simple ingredients can create extraordinary desserts. Light, fluffy, and endlessly customizable, it’s a guaranteed hit for any occasion. Try it once, and it just might become your signature no-bake dessert.
For food safety guidance on dairy-based desserts, visit the USDA Food Safety and Inspection Service.