
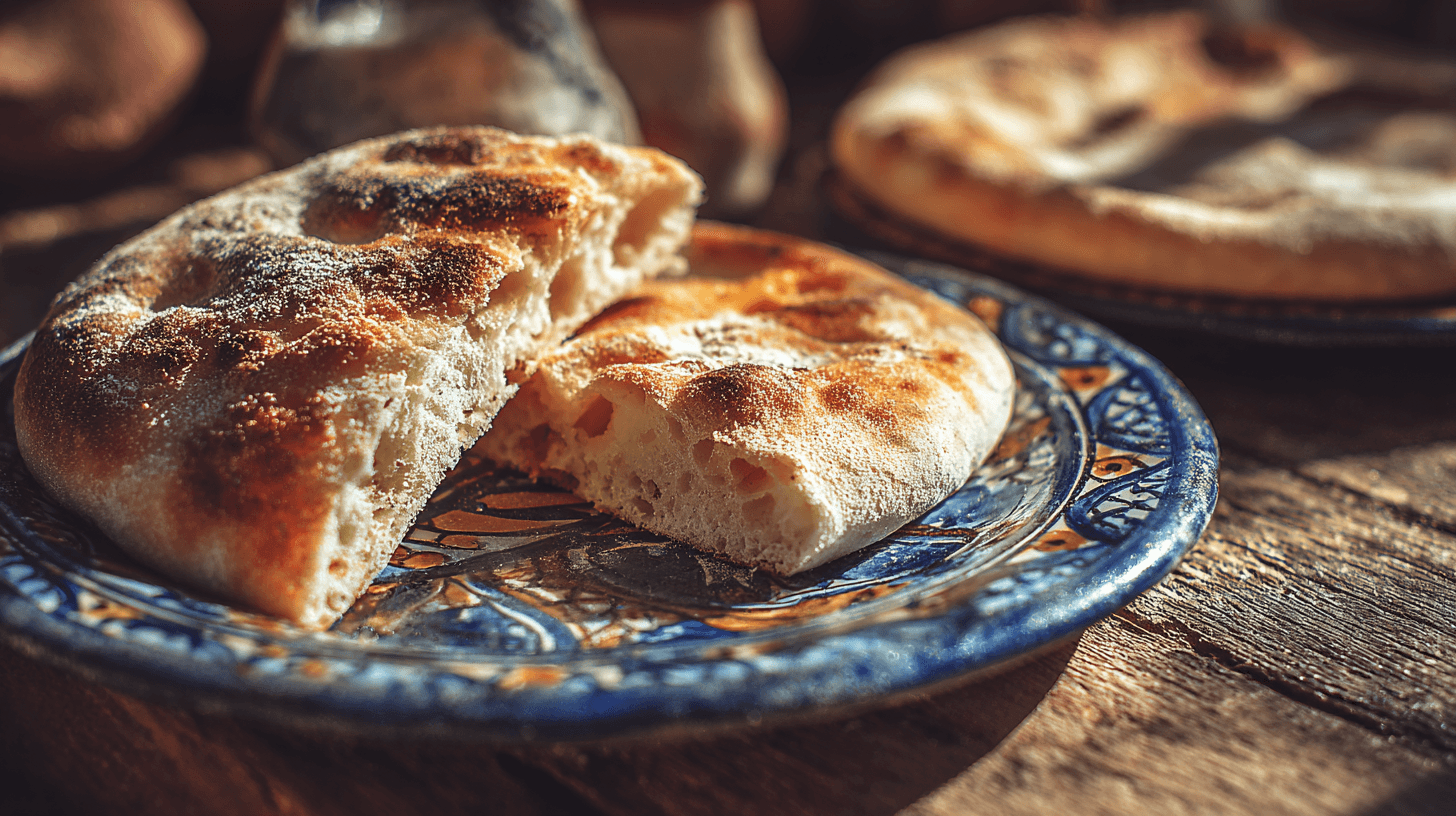
There is nothing more comforting than the smell of traditional Moroccan khobz baking in the oven. In Moroccan homes, khobz is not just bread it’s a daily ritual, a utensil, and a symbol of hospitality. This round, rustic flatbread with its golden crust and soft, chewy interior is served at nearly every meal, from humble breakfasts with olive oil to elaborate tagines shared with family.
Unlike airy European loaves, traditional Moroccan khobz is sturdy enough to scoop up sauces yet tender enough to tear effortlessly by hand. This authentic recipe stays true to generations of Moroccan baking, using simple pantry ingredients and time-tested techniques.
Table of Contents
Authentic Traditional Moroccan Khobz Recipe
Prep Time: 20 minutes
Cook Time: 20 minutes
Rising Time: 1 hour 30 minutes
Total Time: 2 hours 10 minutes
Servings: 4 round loaves
Calories: ~210 per serving
Ingredients
- 4 cups all-purpose flour (500 g)
- 1 cup fine semolina flour (160 g)
- 2 teaspoons salt
- 2 teaspoons sugar
- 2 teaspoons instant yeast
- 2 tablespoons olive oil
- 1½ cups warm water (approx. 110°F / 43°C)
- Extra semolina for dusting
Instructions
- In a large bowl, combine all-purpose flour, semolina, salt, sugar, and yeast. Mix thoroughly.
- Add olive oil and gradually pour in warm water, mixing until a soft dough forms.
- Turn the dough onto a lightly floured surface and knead for 10 minutes until smooth and elastic.
- Place the dough in a lightly oiled bowl, cover with a clean towel, and let rise for 1 hour or until doubled in size.
- Punch down the dough and divide it into four equal portions. Shape each into a smooth ball.
- Flatten each ball into a round disc about ½ inch thick. Sprinkle with semolina and cover loosely.
- Let the shaped dough rest for 30 minutes.
- Preheat oven to 450°F (230°C) with a baking stone or inverted baking sheet inside.
- Transfer the khobz rounds onto the hot surface and bake for 15–20 minutes until puffed and golden.
- Cool slightly on a rack before serving.
Substitutions & Dietary Swaps
- Whole Wheat: Replace half the all-purpose flour with whole wheat flour for a heartier khobz.
- Gluten-Free: Use a gluten-free bread flour blend with xanthan gum (texture will differ).
- No Semolina: Substitute fine cornmeal or additional all-purpose flour.
Chef’s Pro Tips
- Use a baking stone for authentic oven spring and crust.
- Don’t over-flour the dough; khobz should be soft, not stiff.
- For deeper flavor, allow a slow overnight rise in the refrigerator.
Make Ahead, Storage & Reheating
Traditional Moroccan khobz is best enjoyed fresh but stores well. Keep cooled bread in a cloth bag at room temperature for up to 2 days. Freeze for up to 2 months. Reheat directly on the oven rack at 350°F for 5–7 minutes.
Troubleshooting & Common Mistakes
- Too Dense: Dough was under-kneaded or under-proofed.
- Dry Bread: Too much flour added during kneading.
- Pale Crust: Oven not hot enough.
Flavor Pairings & Serving Suggestions
Serve traditional Moroccan khobz with chicken tagine or simply olive oil and honey for breakfast. It pairs beautifully with Bissara Soup during Ramadan.
Traditional Moroccan Khobz
Ingredients
Equipment
Method
- In a large bowl, whisk together the all-purpose flour, semolina, salt, sugar, and instant yeast.
- Add the olive oil. Pour in the warm water gradually, mixing until a soft dough forms (you may not need every drop, depending on your flour and humidity).
- Turn the dough onto a lightly floured surface and knead for about 10 minutes, until smooth and elastic.
- Place the dough in a lightly oiled bowl, cover, and let rise for about 60 minutes or until doubled in size.
- Punch down the dough, divide into 4 equal portions, and shape each portion into a tight ball. Flatten each into a round about 1/2-inch thick. Sprinkle with semolina, cover loosely, and rest for 30 minutes.
- Meanwhile, preheat the oven to 450°F (230°C) with a baking stone (or an inverted baking sheet) inside.
- Transfer the rounds onto the hot stone/sheet (use a peel or the back of another sheet pan). Bake 15–20 minutes until puffed and deeply golden.
- Cool on a rack for at least 10 minutes before slicing or tearing. Serve warm.
Notes
Frequently Asked Questions
Is Moroccan khobz the same as pita?
No. While both are round, khobz is thicker and denser with no pocket.
Can I cook khobz on the stovetop?
Yes, it can be cooked in a hot skillet or griddle, flipping once.
Why is semolina used?
Semolina adds texture and strengthens the crust.
Can I use active dry yeast?
Yes, bloom it in warm water with sugar before adding.
How is khobz traditionally baked?
In communal wood-fired ovens found in Moroccan neighborhoods.
Conclusion
Making traditional Moroccan khobz at home connects you to centuries of culinary tradition. With simple ingredients and mindful technique, you’ll create a bread that transforms every meal into a shared experience. Bake it once, and it will become a staple in your kitchen.
For more authentic breads, explore resources from USA.gov on traditional food heritage and cultural preservation.