Cake pops, those tiny, delicious treats on a stick are more than just a dessert. They’re fun, creative, and absolutely addictive! Whether you’re making them for a party, a business, or just because you’re craving something sweet, cake pops offer endless possibilities. But, let’s be honest, making perfect cake pops can be tricky. Ever had your cake pop fall off the stick? Or maybe your coating turned out lumpy instead of smooth? This guide will take you through every step, from baking to troubleshooting, so you can master the art of cake pops.
Table of Contents

What Are Cake Pops?
If you’ve ever had a cake pop from Starbucks or a bakery, you already know how amazing they are. But what exactly are they?
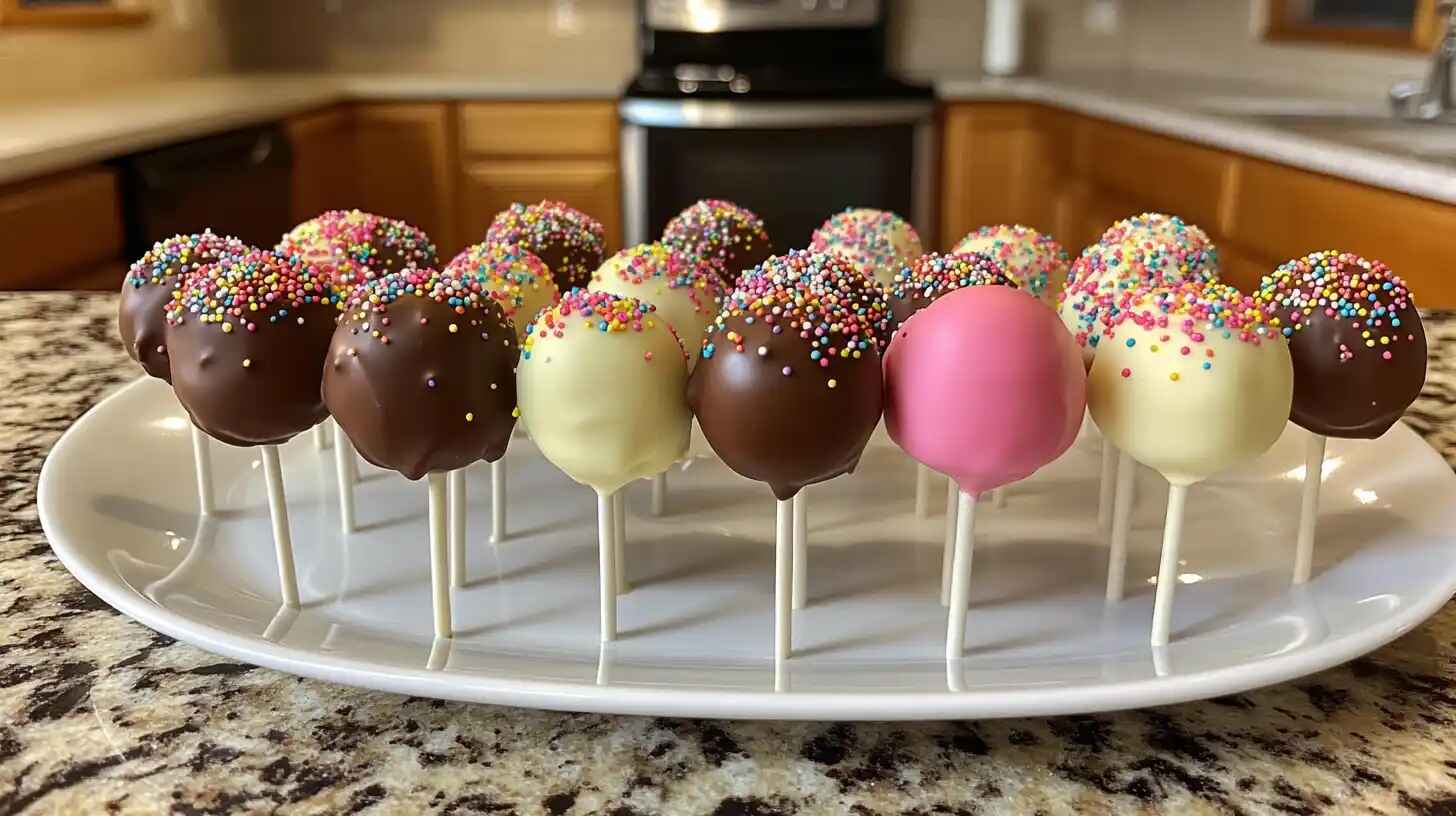
A cake pop is a bite-sized dessert made from crumbled cake mixed with frosting, rolled into a ball, and coated in chocolate or candy melts. They’re usually served on a stick, like a lollipop, making them easy to eat and super fun to decorate.
The best part? You can customize them in countless ways! From classic vanilla to red velvet, birthday cake to chocolate fudge, the flavor combinations are endless.
Why Are Cake Pops So Popular?
Cake pops aren’t just cute; they’re practical! Here’s why they’re a favorite for bakers and dessert lovers alike:
- Portion control: Unlike a big slice of cake, a cake pop is a perfect one-bite treat.
- Great for parties: No need for plates and forks, just grab and enjoy!
- Endless creativity: You can shape, color, and decorate them any way you like.
- Easy to store: They stay fresh for days and are great for make-ahead desserts.
Now that you’re excited to make your own, let’s dive into what you’ll need.
Ingredients and Tools Needed to Make Perfect Cake Pops
Essential Ingredients for Cake Pops
Before you start, gather these basic ingredients:
| Ingredient | Quantity |
|---|---|
| Cake (any flavor) | 1 baked 9-inch cake |
| Frosting (buttercream or cream cheese) | 1/3 to 1/2 cup |
| Candy melts or chocolate | 2 cups |
| Lollipop sticks | 20-25 pieces |
| Sprinkles, nuts, or decorations | As needed |
Tools and Equipment You’ll Need
Having the right tools makes cake pop making much easier. Here’s what you need:
- Mixing bowl: For crumbling cake and mixing it with frosting.
- Cookie scoop: Helps create evenly sized cake balls.
- Wax paper or parchment paper: To prevent sticking when shaping cake pops.
- Microwave-safe bowl: For melting chocolate or candy coating.
- Styrofoam block or cake pop stand: To hold cake pops upright while they dry.
Step-by-Step Guide: How to Make Cake Pops from Scratch
Step 1: Baking the Perfect Cake Base
First things first, before you can make cake pops, you need a cake! You can use a store-bought mix or make one from scratch.
Tip: A slightly drier cake works better for cake pops since you’ll be mixing it with frosting.
Let the cake cool completely before moving on to the next step. Warm cake will melt the frosting and make the mixture too soft.
Step 2: Crumbling and Mixing – Creating the Cake Pop Dough
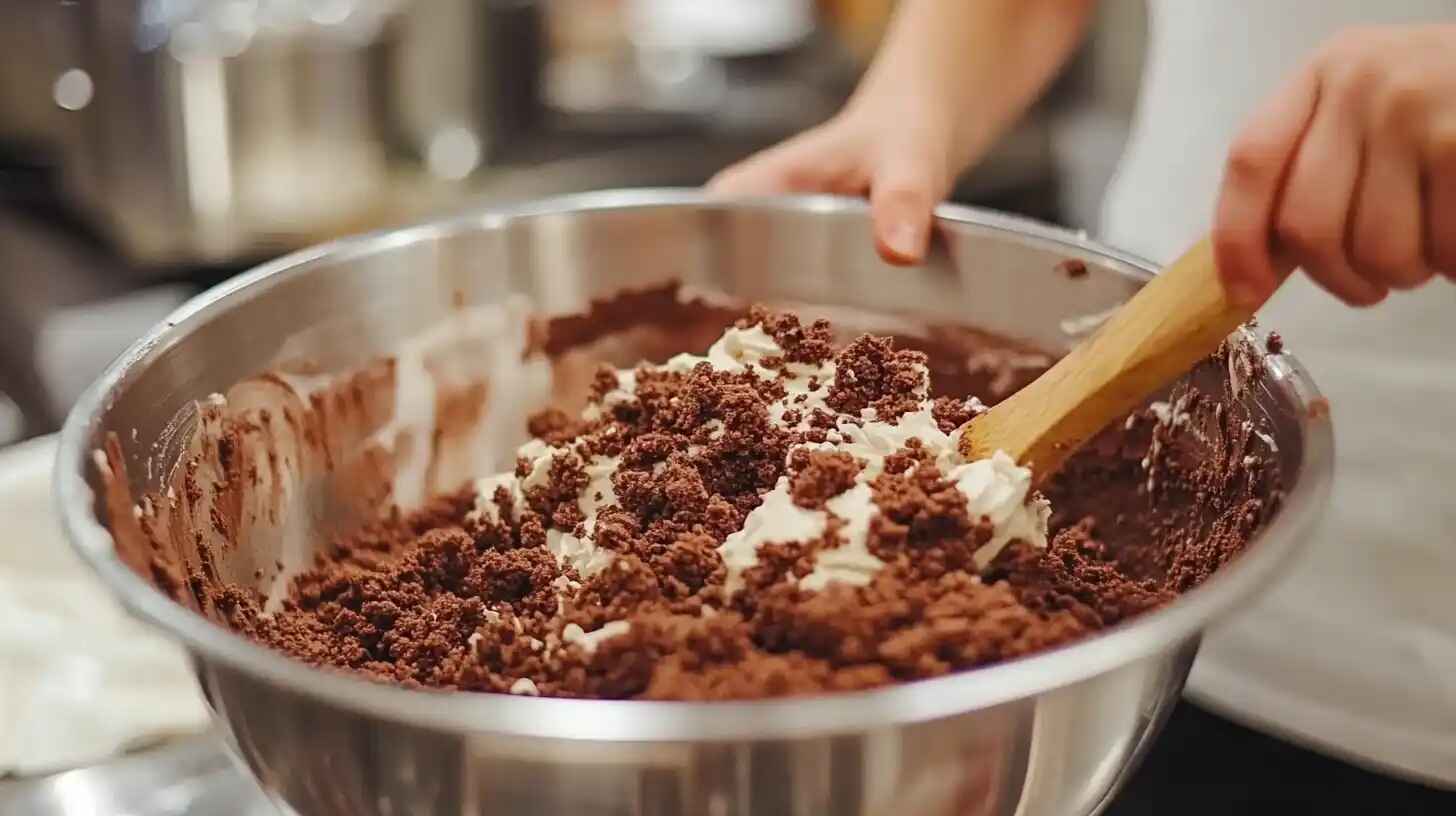
Now for the fun part, destroying the cake! Crumble the cake into fine crumbs using your hands or a food processor.
Next, add frosting a little at a time, mixing until the cake sticks together but isn’t overly wet. You should be able to roll a ball without it falling apart.
Tip: If the mixture is too dry, add more frosting. If it’s too wet, add more crumbled cake.
Step 3: Shaping and Chilling the Cake Balls
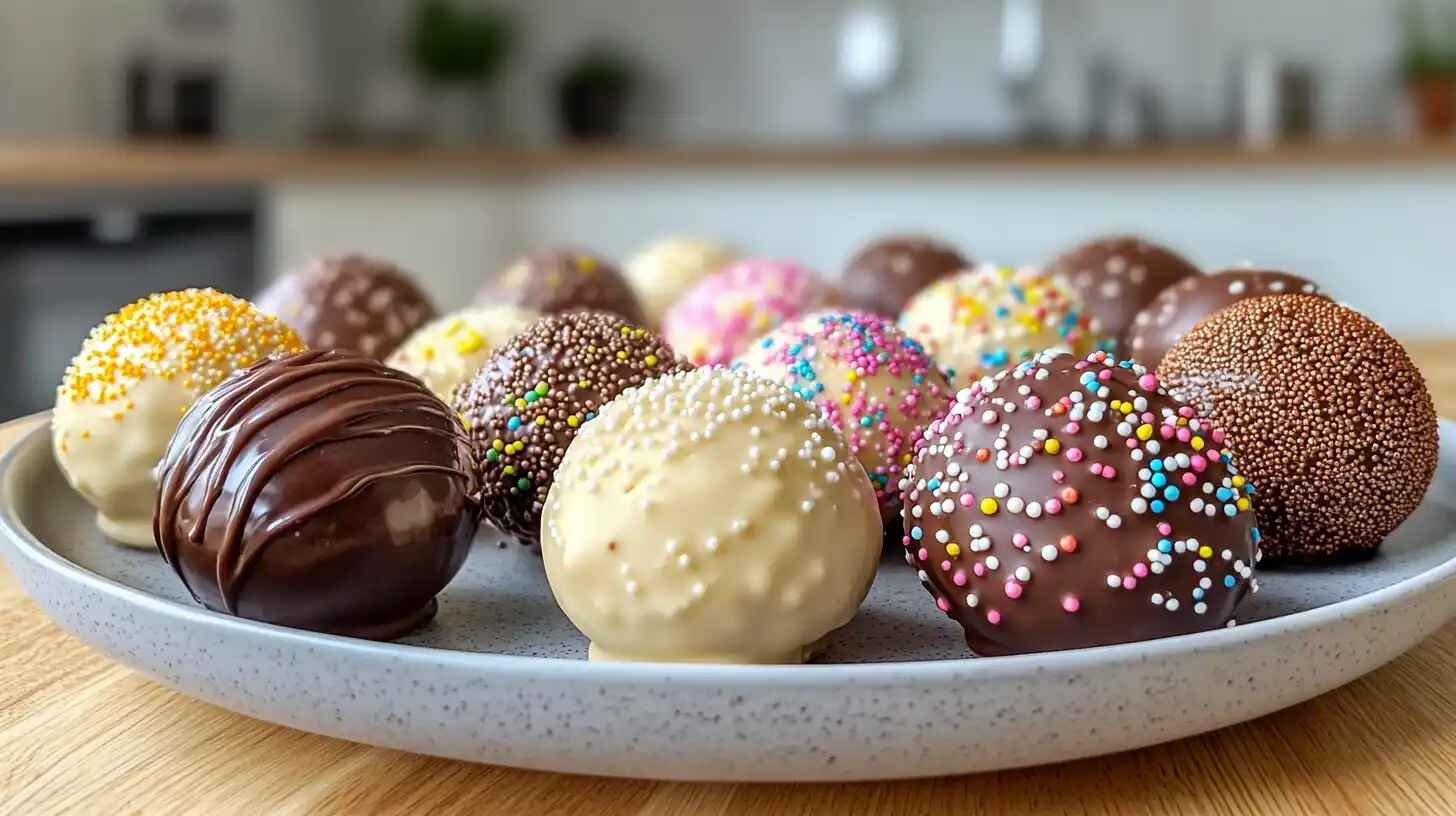
Roll the mixture into small balls, about the size of a ping-pong ball, and place them on a lined baking sheet.
Once shaped, refrigerate for at least 30 minutes or freeze for 15 minutes. This step is crucial to prevent them from falling apart when dipping.
Step 4: Dipping and Decorating Cake Pops Like a Pro
Melt the candy coating or chocolate in a microwave-safe bowl, stirring every 30 seconds until smooth.
Dip the tip of a lollipop stick into melted chocolate, then insert it into a cake ball—this helps secure the stick in place.
Tip: Don’t skip this step! It acts like glue to keep the cake pop from sliding off.
Dip the entire cake pop into the melted coating, gently tapping off excess. Decorate with sprinkles or drizzle extra chocolate for a fancy touch!

Creative Cake Pop Flavors and Decoration Ideas
Popular Cake Pop Flavors to Try
Want to go beyond basic vanilla? Try these flavor ideas:
- Chocolate Fudge: Rich chocolate cake with chocolate frosting.
- Cookies and Cream: Vanilla cake mixed with crushed Oreos.
- Strawberry Shortcake: Strawberry cake with cream cheese frosting.
- Red Velvet: Classic red velvet cake with cream cheese frosting.
Common Cake Pop Problems and How to Fix Them
Let’s be honest—cake pops aren’t always as easy as they look. Have you ever made them and faced issues like cracking, falling off the stick, or a lumpy coating? Don’t worry! Here’s how to fix the most common cake pop problems.
Why Do My Cake Pops Fall Off the Stick?
If your cake pops keep falling off the stick, it’s usually because they’re too heavy or the stick isn’t secured properly. Here’s how to prevent it:
- Dip the stick in melted chocolate before inserting it into the cake ball. This acts like glue and helps hold everything together.
- Chill your cake balls before dipping. If they’re too soft, they won’t stay on the stick.
- Don’t make the cake balls too big. Ping-pong ball size is ideal.
Tip: If your cake pop still falls off, try turning it upside down to dry on parchment paper instead of keeping it upright.
How to Prevent Cracks in the Coating
Cracks in cake pops usually happen when there’s a temperature difference between the cake ball and the melted chocolate.
- Don’t dip super cold cake balls into hot chocolate. Let them sit at room temperature for a few minutes before dipping.
- Make sure your coating isn’t too thick. Add a little vegetable oil or paramount crystals to thin it out.
- Dip smoothly and tap off excess gently. Harsh tapping can cause small cracks.
Fixing Lumpy or Uneven Chocolate Coating
Does your cake pop coating look rough or uneven? Here’s how to get a smooth finish:
- Use high-quality candy melts or chocolate. Some brands melt smoother than others.
- Thin out thick chocolate. Add a teaspoon of vegetable oil or shortening to make it more fluid.
- Work quickly. If your chocolate starts hardening while dipping, reheat it in short bursts.
Why Are My Cake Pops Too Soft or Too Dry?
If your cake pops feel mushy, you may have added too much frosting. If they’re dry and crumbly, you may not have added enough.
Tip: The perfect texture is like playdough—soft, but firm enough to hold its shape.

How to Store and Transport Cake Pops Properly
Best Ways to Store Cake Pops for Freshness
Want to keep your cake pops fresh? Follow these storage tips:
- At room temperature: Cake pops (with a chocolate coating) can stay fresh for up to 3 days in an airtight container.
- In the fridge: Store for up to a week in an airtight container. Let them sit at room temperature before serving to avoid condensation.
- In the freezer: Undipped cake balls can be frozen for up to 2 months. Thaw in the fridge before dipping.
How to Package and Transport Cake Pops Without Damage
Need to take your cake pops to a party? Here’s how to transport them safely:
- Use a cake pop stand or Styrofoam block to keep them upright.
- Individually wrap them in plastic treat bags for extra protection.
- Avoid direct sunlight or heat to prevent melting.
Cake Pops for Special Occasions: Themes and Ideas
Cake pops are perfect for celebrations! Here are some creative ideas for different occasions:
Birthday Cake Pops
- Use funfetti cake and vanilla frosting for a classic birthday flavor.
- Dip in colorful candy melts and add rainbow sprinkles.
Wedding Cake Pops
- Use white chocolate for an elegant look.
- Decorate with edible pearls or gold dust.
Holiday and Seasonal Cake Pops
- Halloween: Make pumpkin-shaped cake pops using orange candy melts.
- Christmas: Use red and green sprinkles with peppermint flavoring.
- Easter: Shape them like eggs and decorate with pastel colors.

Vegan and Gluten-Free Cake Pops: How to Make Them Delicious
Don’t worry if you have dietary restrictions—you can still enjoy cake pops! Here’s how to make them vegan and gluten-free.
Vegan Cake Pop Recipe
| Ingredient | Quantity |
|---|---|
| Vegan cake (chocolate or vanilla) | 1 baked 9-inch cake |
| Vegan buttercream frosting | 1/3 to 1/2 cup |
| Dairy-free chocolate or candy melts | 2 cups |
Follow the same process as regular cake pops, using plant-based substitutes.
Gluten-Free Cake Pop Recipe
Swap regular flour with almond flour or a gluten-free cake mix. Everything else stays the same!
Cake Pop Business: How to Turn Your Hobby into Profit
Love making cake pops? Why not sell them? Here’s how to start a cake pop business:
Starting a Home-Based Cake Pop Business
- Perfect your recipes. Try different flavors and decorations.
- Get a food license. Check your local laws about selling homemade food.
- Price your cake pops. Consider ingredient costs and time spent.
Marketing and Selling Your Cake Pops
Once you’re ready to sell, use these marketing tips:
- Use social media. Post pictures on Instagram and Facebook.
- Offer samples. Give free samples to local businesses or at events.
- Sell at farmers’ markets or pop-up shops. A great way to reach customers.
Last Bite
There you have it, a complete guide to making, decorating, troubleshooting, and even selling cake pops! Whether you’re baking for fun, special occasions, or starting a small business, cake pops are a creative and delicious way to enjoy dessert. Now, go grab your ingredients and start rolling those cake balls—you’re officially a cake pop expert!
If you’re a true sweet lover, you’re in for a treat! 🍰🍫 If you enjoyed making these delicious cake pops, why stop here? Check out more of our irresistible dessert recipes.

