Herbs bring dishes to life, transforming ordinary meals into flavorful experiences. However, fresh herbs have a short shelf life, making preservation essential for extending their use. Two primary methods dominate the conversation: dehydrating and air drying. Both have advantages and drawbacks, but which method is better for you, Dehydrate or Air Dry Herbs?
The answer depends on factors like the type of herb, your available tools, and personal preferences. Whether you’re a seasoned gardener, a culinary enthusiast, or simply looking to save money by preserving homegrown herbs, understanding these methods is key to achieving the best results.
Table of Contents
Understanding Dehydrating Herbs

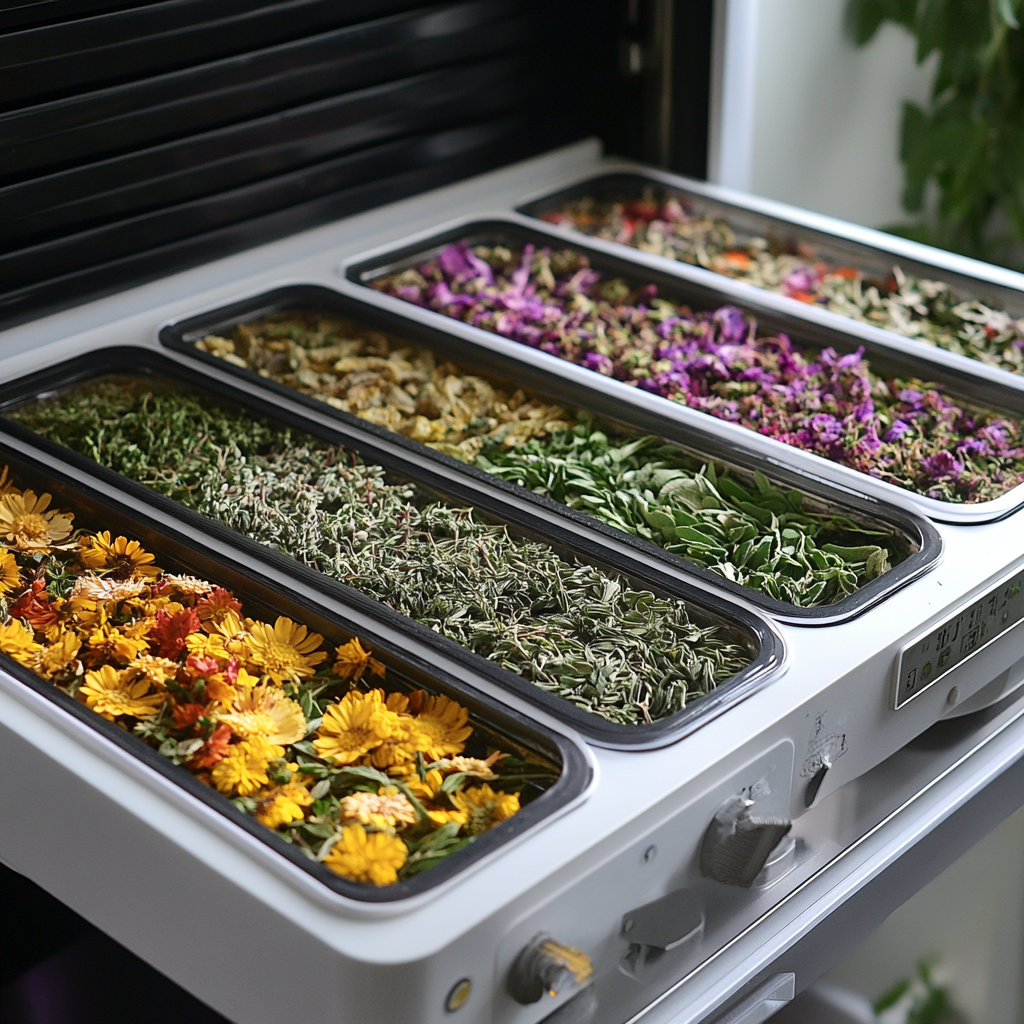
Dehydration involves removing moisture from herbs using controlled heat. This can be achieved with specialized tools like food dehydrators, or more common kitchen appliances like ovens or microwaves. Dehydrating is celebrated for its speed and precision, making it a popular choice in modern kitchens.
How Dehydration Works
The process of dehydrating herbs revolves around low, consistent heat. A dehydrator uses fans and heating elements to circulate warm air, pulling moisture from the plant material. The moisture is then vented away, leaving the herbs crisp and dry.
Ovens and microwaves can mimic this process, though they lack the precision and efficiency of a dehydrator.
Advantages of Dehydrating Herbs
- Speed and Efficiency
Dehydration typically takes only a few hours, making it ideal for those who want quick results. This is especially beneficial during harvest season when herbs need to be preserved rapidly to prevent spoilage. - Consistent Results
A dehydrator provides uniform heat distribution, ensuring that all parts of the herb dry evenly. This consistency is harder to achieve with air drying, which depends on environmental factors like airflow and humidity. - Preservation of Essential Oils
When done correctly, dehydration preserves the essential oils in herbs—the compounds responsible for their aroma and flavor. This is achieved by maintaining a steady, low temperature. - Humidity Resistance
In humid climates, air drying can lead to mold growth on herbs. Dehydration eliminates this risk by swiftly reducing moisture content to safe levels. - Compact Storage
Dehydrated herbs are brittle and easy to crumble, reducing their volume and making them more space-efficient for storage.
Disadvantages of Dehydrating Herbs
- Upfront Costs
Purchasing a food dehydrator can be expensive. While ovens and microwaves can be used as alternatives, they consume more energy and may overheat the herbs. - Risk of Overdrying
Excessive heat can destroy the essential oils in herbs, resulting in a loss of flavor and aroma. Monitoring the drying process closely is crucial. - Learning Curve
Dehydrating requires some experimentation to perfect, particularly with temperature settings and timing for different herbs. - Energy Consumption
Dehydration relies on electricity, which may not be ideal for those seeking eco-friendly methods.
Understanding Air Drying Herbs

Air drying is one of the oldest and simplest ways to preserve herbs. This method relies on natural airflow and time, requiring minimal equipment. It is ideal for those who prefer a hands-off approach and appreciate traditional techniques.
How Air Drying Works
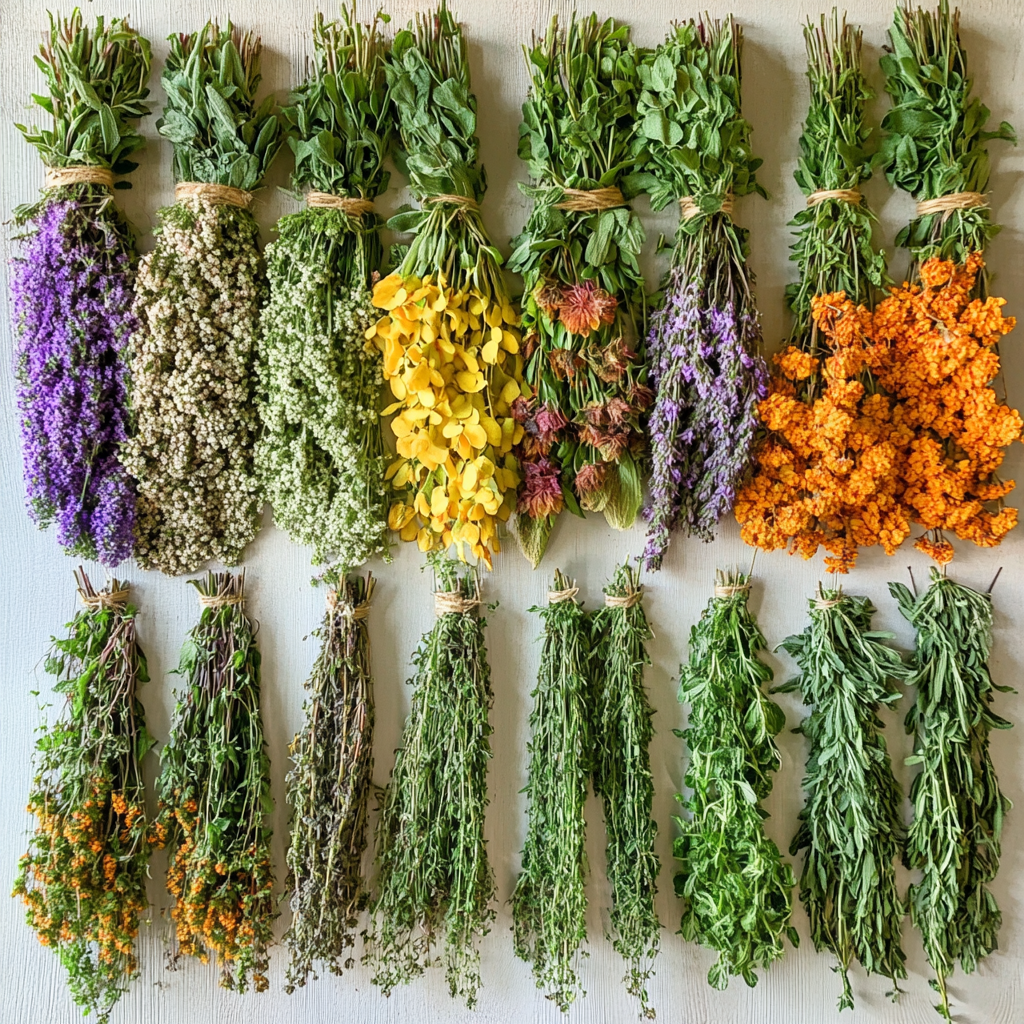
To air dry herbs, you typically bundle them into small bunches, tie them with string, and hang them upside down in a cool, dry, and well-ventilated space. The drying process can take anywhere from a few days to several weeks, depending on the type of herb and environmental conditions.
Advantages of Air Drying Herbs
- Cost-Effective
Air drying requires no special equipment, making it a low-cost method accessible to everyone. A simple piece of string and a suitable drying space are all you need. - Eco-Friendly
Since air drying relies entirely on natural conditions, it uses no electricity or energy, reducing your environmental footprint. - Gentle Drying Process
The slow drying process helps preserve the delicate flavors and nutrients in herbs. Air drying is particularly beneficial for hardy herbs like sage and oregano. - Rustic Aesthetic
Bundles of hanging herbs can add a charming, rustic feel to kitchens or pantries, doubling as decorative elements.
Disadvantages of Air Drying Herbs
- Time-Consuming
Unlike dehydrating, which is completed in hours, air drying can take several days or even weeks. This is impractical for those needing quick results. - Mold and Mildew Risks
High humidity or poor ventilation can lead to mold growth, ruining the herbs. Regularly checking the drying area is essential to avoid spoilage. - Space Requirements
Air drying requires sufficient space to hang or lay out the herbs. This can be a challenge for those living in small homes or apartments. - Not Suitable for All Herbs
Delicate, moisture-rich herbs like basil, parsley, and cilantro often struggle with air drying. They may wilt, discolor, or fail to dry evenly.
Which Herbs Work Best for Each Method?
The success of either method depends on the type of herb being preserved.
- Dehydrating Herbs: Ideal for herbs with lower moisture content, such as rosemary, thyme, oregano, and marjoram. These herbs dry quickly and retain their flavor well in a dehydrator.
- Air Drying Herbs: Best suited for sturdy herbs like sage, bay leaves, lavender, and dill. Their firm structure makes them less prone to wilting or discoloration during the slow drying process.
- Moisture-Rich Herbs: For herbs like basil, mint, and cilantro, dehydration is often the better option to prevent mold and preserve flavor.
How to Dehydrate Herbs Step by Step
- Harvest Fresh Herbs: Pick herbs in the morning, when the essential oil content is highest. Avoid using herbs that are wilted or damaged.
- Clean the Herbs: Rinse lightly under cold water to remove dirt or pests. Pat them dry with a clean towel or let them air dry briefly.
- Prepare for Drying: Remove thick stems, as they take longer to dry. Lay herbs in a single layer on dehydrator trays or a baking sheet.
- Set the Temperature: For most herbs, set your dehydrator to 95–115°F (35–46°C). Avoid going above 120°F, as this can damage essential oils.
- Monitor Progress: Drying times vary by herb but generally range from 2–6 hours. Check for brittleness to confirm they’re fully dried.
- Store Properly: Transfer dried herbs to airtight containers and label them with the name and drying date. Store in a cool, dark place.
How to Air Dry Herbs Step by Step
- Select and Harvest: Choose herbs with sturdy stems and minimal bruising. Harvest during dry weather to reduce moisture content.
- Bundle the Herbs: Gather small bunches of herbs and secure them with string or rubber bands. Ensure the bundles aren’t too thick to allow adequate airflow.
- Hang the Bundles: Suspend the herbs upside down in a well-ventilated, dry area away from direct sunlight.
- Check Regularly: Inspect the herbs periodically for signs of mold or mildew. Adjust spacing if needed to improve airflow.
- Test for Dryness: Herbs are fully dry when they crumble easily and the stems snap without bending.
- Store Carefully: Place dried herbs in sealed containers, keeping them in a cool, dark space to maintain freshness.
Comparison of Dehydrate or Air Dry Herbs
| Aspect | Dehydrating | Air Drying |
| Time | Fast (2–6 hours) | Slow (days to weeks) |
| Cost | Requires equipment | Minimal cost |
| Eco-Friendliness | Uses electricity | Completely natural |
| Flavor Retention | Excellent if properly controlled | Good, but less consistent |
| Mold Risk | Low | Moderate to high |
| Space Required | Compact | Needs hanging or drying space |
| Best For | High-moisture herbs | Sturdy herbs |

Common Mistakes to Avoid for Dehydrate or Air Dry Herbs
- Overcrowding Herbs
Whether dehydrating or air drying, avoid piling herbs too closely together. This inhibits airflow and increases drying time. - Skipping the Cleaning Process
Even small amounts of dirt can affect the quality of dried herbs. Always rinse and pat them dry before starting. - Overheating During Dehydration
High heat destroys essential oils, leading to flavorless herbs. Always use the lowest setting possible. - Ignoring Environmental Conditions
Humidity and airflow play a huge role in air drying. Choose a location carefully to avoid mold or discoloration. - Improper Storage
Exposure to light, heat, or moisture after drying diminishes the potency of herbs. Use airtight containers and store them away from kitchen heat sources.
FAQs
How do you know when herbs are fully dried?
Herbs are ready when they crumble easily between your fingers, and the stems snap cleanly without bending.
What’s the shelf life of dried herbs?
Stored in airtight containers, dried herbs typically last 6–12 months before they lose potency.
Can I dry herbs in the microwave?
Yes, but it requires careful monitoring. Spread herbs on a paper towel, microwave in short bursts, and check frequently to prevent burning.
Is air drying suitable for all climates?
Air drying works best in low-humidity environments. In humid areas, mold risks are higher, making dehydration a safer option.
Do dried herbs taste as good as fresh?
While dried herbs lose some vibrancy, proper drying preserves most of their flavor. They can still enhance dishes effectively.
Can I mix drying methods for different herbs?
Yes, it’s common to dehydrate moisture-rich herbs like basil and air dry sturdier ones like thyme or oregano.
Last Bite
Both methods indeed have their unique advantages, and determining the “better”, Dehydrate or Air Dry, Herbs option boils down to individual circumstances. Dehydration is perfect for those seeking speed, consistency, and reliability, especially in environments where humidity can hinder traditional drying methods. Its precision ensures herbs retain their essential oils and flavors, making it a fantastic choice for culinary enthusiasts who value potency.
Conversely, air drying offers simplicity and minimal expense, appealing to those who appreciate sustainable, hands-off approaches. This method is especially effective for hardy herbs like sage or lavender, lending itself to a more rustic, traditional preservation process that requires no specialized equipment.
By delving into the nuances of each method—considering factors such as the herb type, climate, and your personal schedule—you can make an informed decision. Mastering either technique ensures that your carefully grown or purchased herbs remain vibrant, flavorful, and ready to elevate your cooking throughout the year. did you get the difference Dehydrate or Air Dry Herbs?
If you’re ready to dive deeper into preserving your garden’s bounty, check out our comprehensive guide, How to Dry Herbs and Peppers at Home.

